Meet "Henry" Sock mouse!

Isla decided this morning that she hated a pair of socks, and it needed to be a mouse. No idea what caused this, or where it came from, but I am always up for a challenge. She also said that she wanted to draw it, help cut it out, and be the designer.
One of that hardest things crafting with a nearly four year old is patterns/stencils and so on. It looks like she should be able to do it, but actually its really fiddly - so as I was washing out a milk bottle/carton, it came to me that it would be great to use for durable, re usable templates. Here it is all cut up - these are the bits that went in the recycling bin:


Apologies for lack of pics here - Isla got 'very' involved, and I'm new to tutes, and forgot *blush*
Turn right way round, and stuff through end hole. I used sheeps wool, but acrylic stuffing would work fine. Maybe add some beans to make it weighted if you fancy.
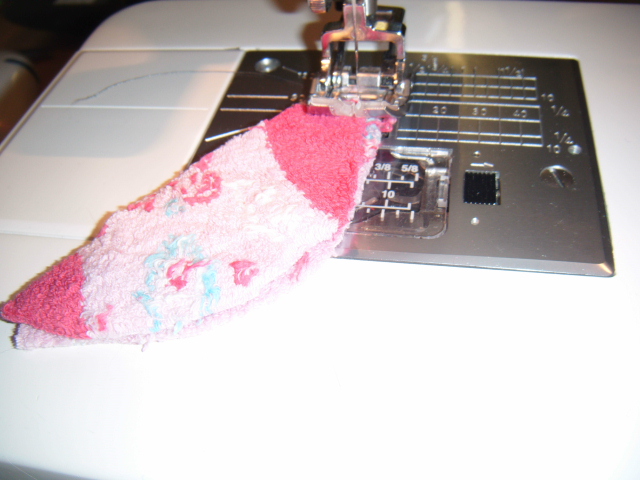
When stuffed as you would like it, poke the tail in the hole and sew the whole lot up, making sure you turn the edges under so they don't fray. At this point you may wonder what this blob thing is meant to be, and your little one helping may look a tad disappointed. Don't fret - it will all come together!
You get to do the fun bit - accessorise your mouse however you (or more likely your helper) decides. Isla chose the bits and pieces for hers and Lucas' mice. Sew on the felt ears, and if adding pom pom eyes like these - sew from one through the mouse to the other and back again - it helps line them up, and anchors them firmly. Also, rather than making knots to finish your seams, do what doll makers do - run the thread through the doll (or mouse) and then cut it - holds really firmly and you don't get ugly knots. For dolls you would probably need a big scary looking needle, but not so for these diddy mice.
Thus Henry and John were created by a 4 year old (and her Mum) using milk bottles and old (rejected) socks, based on a 4 year olds sketches, with Isla doing a huge amount of the work herself. Henry and John are now snuggled on their respective owners pillows for the night!
|
| Henry! |
 |
| John! |
As Featured in:


No comments:
Post a Comment
I always love hearing from you!
Love Sarah